The unit finally arrived Thursday and I began working on the install that night. Parrot offered to get it installed by a certified installer but I declined since I enjoy installing car stereo equipment. Needless to say it was a big pain in the ass.
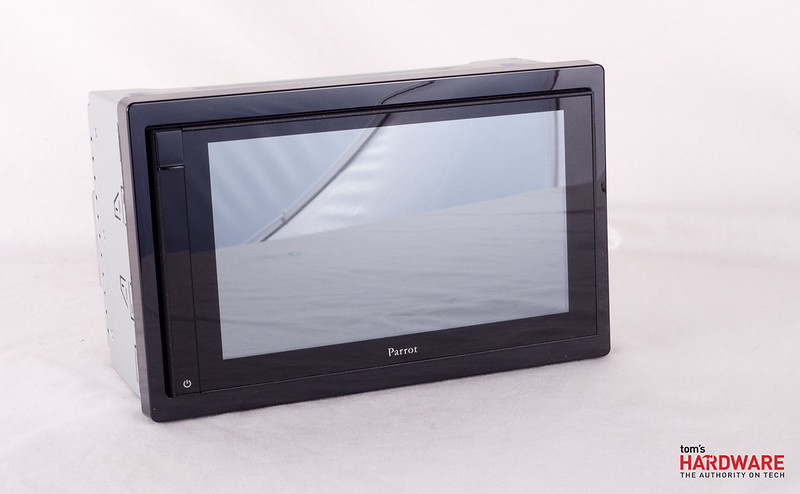
Parrot Asteroid Smart by tuanies, on Flickr
Let's start with the car I have
- 2011 VW Routan SE
- 430N RHB (Garmin Navigation)
- Rear VES with Dual Screens
- Basic 4 speakers + 2 tweeters system
Here's all the harnesses I needed (provided by Parrot)
- PAC Audio CHY-RVD (VES harness)
- C2R-CHY4 (CANbus radio replacement)
- Install Kit
- Parrot Unika (steering wheel interface)
- Antenna adapter
The harness was a big pain in the ass since there are two modules with about 4 different connectors to splice / join. I soldered and used heatshrink on every connection. After about an hour and a half, I was done.

Parrot Asteroid Smart by tuanies, on Flickr
Installing the unit wasn't too bad - my old HHR SS was worse. The Parrot is a shallow depth mech-less head unit (4.5-inches deep) so there was plenty of room to shove the sea of wires back there (it was still annoying).
I had to run their microphone, which is a stereo array mic. I ran it through the dash up the A-pillar and just sticky taped it to the top left corner of the windshield. The GPS receiver is USB and I just stuck that in the spot where the center channel speaker is supposed to be, which I don't have. The USB ports were ran through the lower glovebox because it was easy and did not require any drilling.
Here it is installed.
installed by tuanies, on Flickr
I'll have more clearer pictures of it installed later, but I have a almost 2 year old, a 1 week old and my wife to tend to most of the day  .
.
As for the Parrot Asteroid Smart, it runs a TI OMAP 3630 SoC (think Droid X/2) with an 800x480 capacitive touch display. The visuals and everything make it look a lot cleaner than the dated RHB visuals. It comes with iGo for navigation. There's a Spotify app for premium users on the Asteroid Marketplace. You can also ground the parking brake to enable use while in movement instead of buying a $300 lock-pick.
But the fun starts with side loading applications. You can install any Android APK on it by just placing it on the SD card. To me this opens up a world of possibilities. I've already installed XBMC (still need to test video playback), YouTube, Nest (home climate control) and Flickr (has orientation issues since there isn't a landscape mode).
The factory backup camera and rear VES system still work
Its only been a few days but I'm still learning everything with it and finding out the quirks. Overall, its a sweet deck for those that enjoy messing around with Android. I still need to sideload Googlemaps and get the Play Store working on it though.
Played with Spotify and had to pay for the $10 premium account. It works great tethered via Bluetooth via my Galaxy Nexus running Cyanogenmod 10.1. Sound quality is decent with the quality of the speakers. My wife loves having access to all of that music, including the mid-to-late 90s pop music we had growing up (we're in our mid/late 20s). The backup camera mode is still finnicky as the backup camera app doesn't always close when its in drive. However, you can turn on the backup camera whenever you want.
The rear VES still works and the Asteroid Smart can receive input from the lower DVD player. Only slight annoyance is the input will not display anything unless you launch the video input app and then turn on the DVD player. Not a big deal since it won't be used for my needs anyways. Still need to test video playback of the unit itself. VLC did not like the HD MKV files I had and XBMC cannot play any media on a flash drive so I need to put it on an SD card.
The SD card is also a pain in the ass to get in and out without some tiny needle nose or tweezers.
Anyways onto more pictures
The box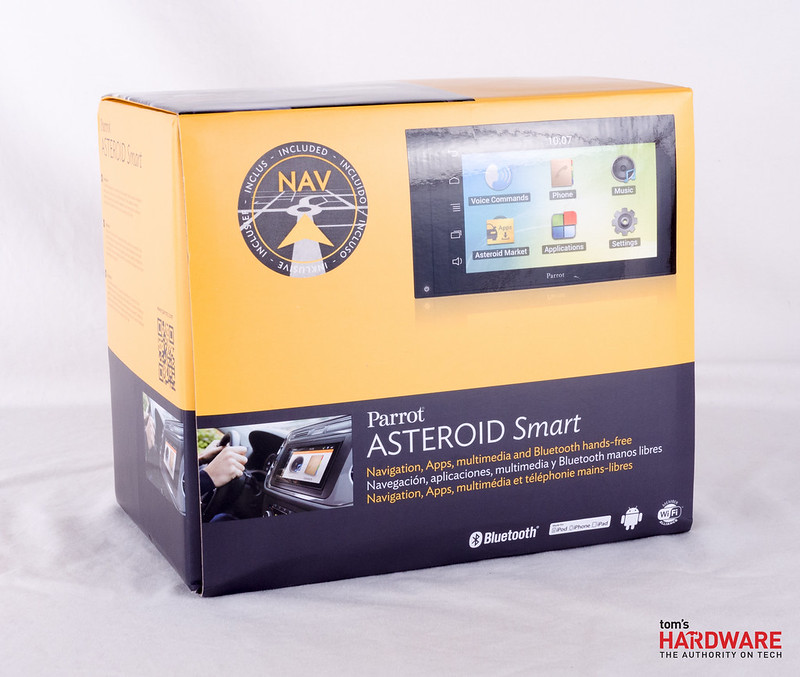
Parrot Asteroid Smart by tuanies, on Flickr
Detachable power button / SD Card cover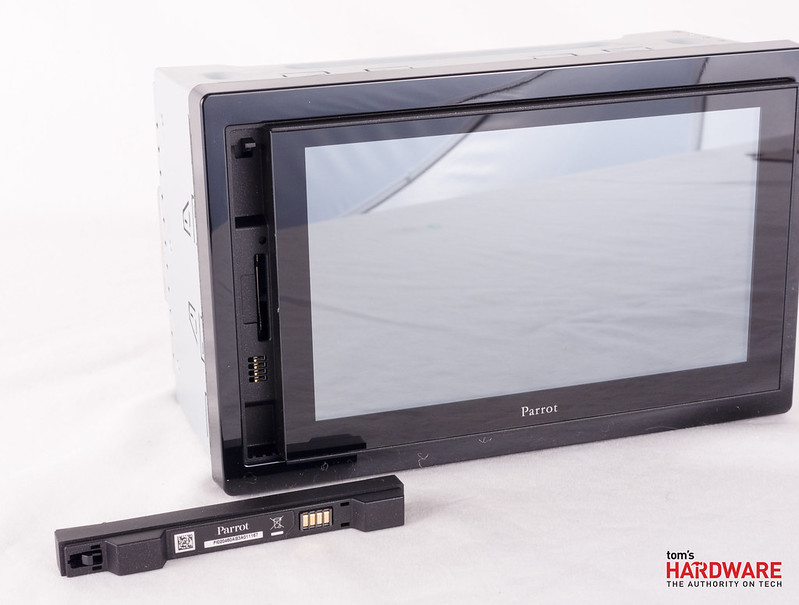
Parrot Asteroid Smart by tuanies, on Flickr
Backside
Parrot Asteroid Smart by tuanies, on Flickr
Accessories that come with it
Parrot Asteroid Smart by tuanies, on Flickr
Mounting kit attached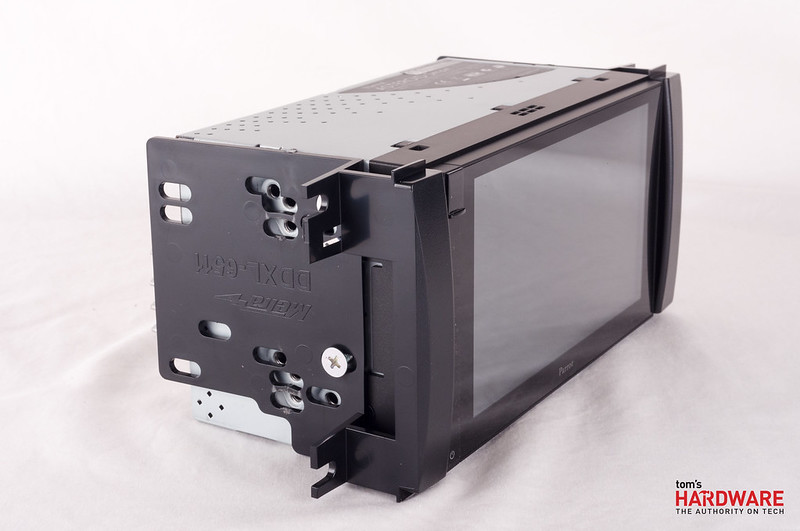
Parrot Asteroid Smart by tuanies, on Flickr
Trim removed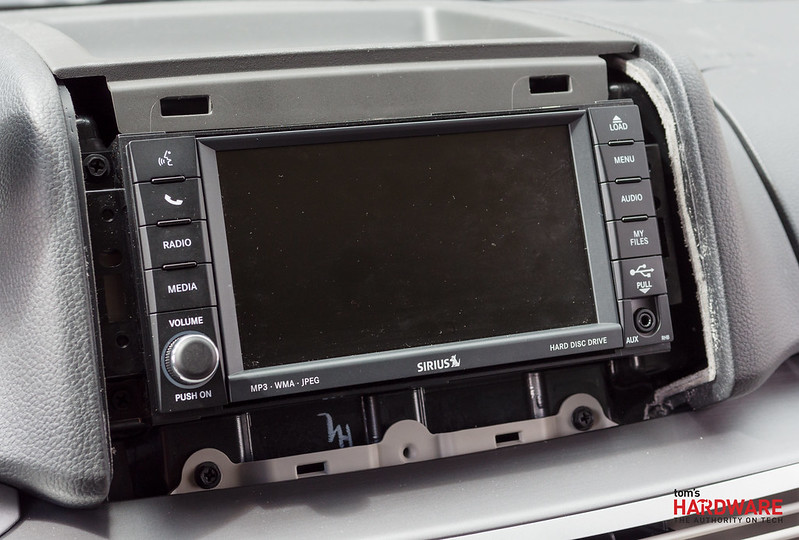
Parrot Asteroid Smart by tuanies, on Flickr
The basic details of the unit can be found here - Parrot ASTEROID Smart - Navigation, Apps, multimedia and Bluetooth? hands-free
Right now its just powering factory speakers. The speakers do sound a bit livelier than with the stock radio with the greater tuning options and amp but the speakers need to be replaced ASAP. The internal amp is rated a MOSFET unit rated for 4x55 watts. I have no plans on installing a separate amp, though the unit does have 6-volt preouts. I will probably install a subwoofer eventually.
If anyone has any questions / concerns that they'd like addressed - I'm open to testing anything you can possibly think of with it  .
.
Sephora Cyber Monday 2012 Walmart.com detroit lions Thanksgiving Day cooking a turkey toysrus
No comments:
Post a Comment
Note: Only a member of this blog may post a comment.